
It's the Simple Things
|
Last summer, right before school started, we decided that we wanted to do something fun as a family. We chose to drive over to Fort Worth to visit the Fort Worth Museum of Science and History, and since Dallas wanted to take a friend, we asked our neighbors and their granddaughter, Hailey to go with us. We did so much, and had a great time doing everything. We made paper airplanes in the "How Do Planes Fly" special exhibit, we learned about the Solar System in the Planetarium, we played with all the hand-on exhibits, toured the Cattle Raisers Museum, and so much more. By far, Dallas' favorite part was the dinosaur exhibit and the dino dig, where he and Hailey got to become archeologist and did to find dinosaur bones. 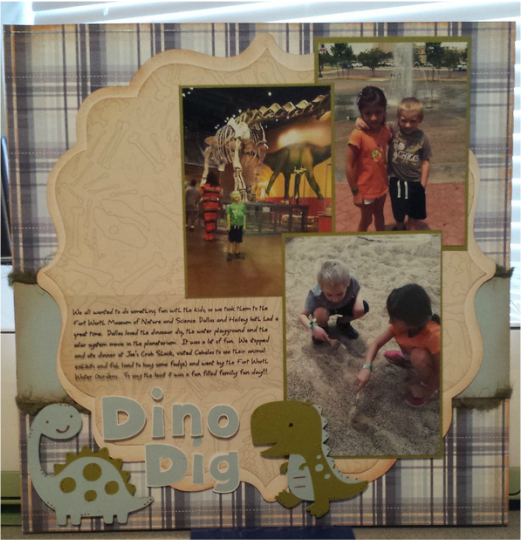 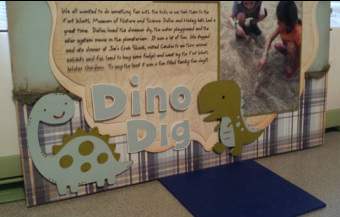 To make this layout, I cut out all the pieces using my cricut (Create A Critter, Disney Mickey Font, and Elegant Edges). Then I inked around all the edges using Tim Holtz Tea Dye distress ink, and then started putting it all together. I love how the 3 different pattern papers work so well together, and how the fuzzy ribbon works to anchor the layout. The two little dinosaurs are as cute as can be. I finished it off by printing my journaling on a transparent sheet and tucking and attaching it under the pictures so it would stay down and no one would see the adhesive. Time to start planning this year's pre-school field trip. Materials Used: Cricut: Create A Critter, Disney Mickey Font, Elegant Edges Paper: DCWV All about Boys Stack & Recollections Cardstock Ink: Tim Holtz Tea Dye Distress Ink Other: Brown Gelly Roll pen, foam tape, and ribbon from stash Challenges Entered: Lasting Memories Cupcake Inspirations Die Cuttin Divas Pause Dream Enjoy
6 Comments
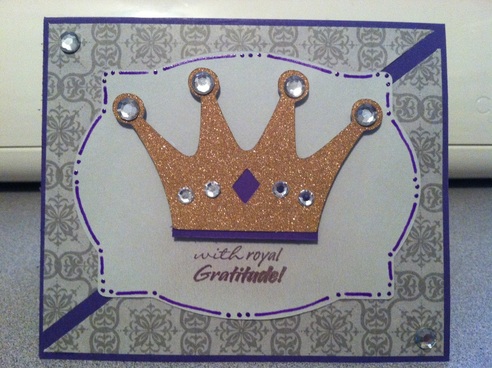
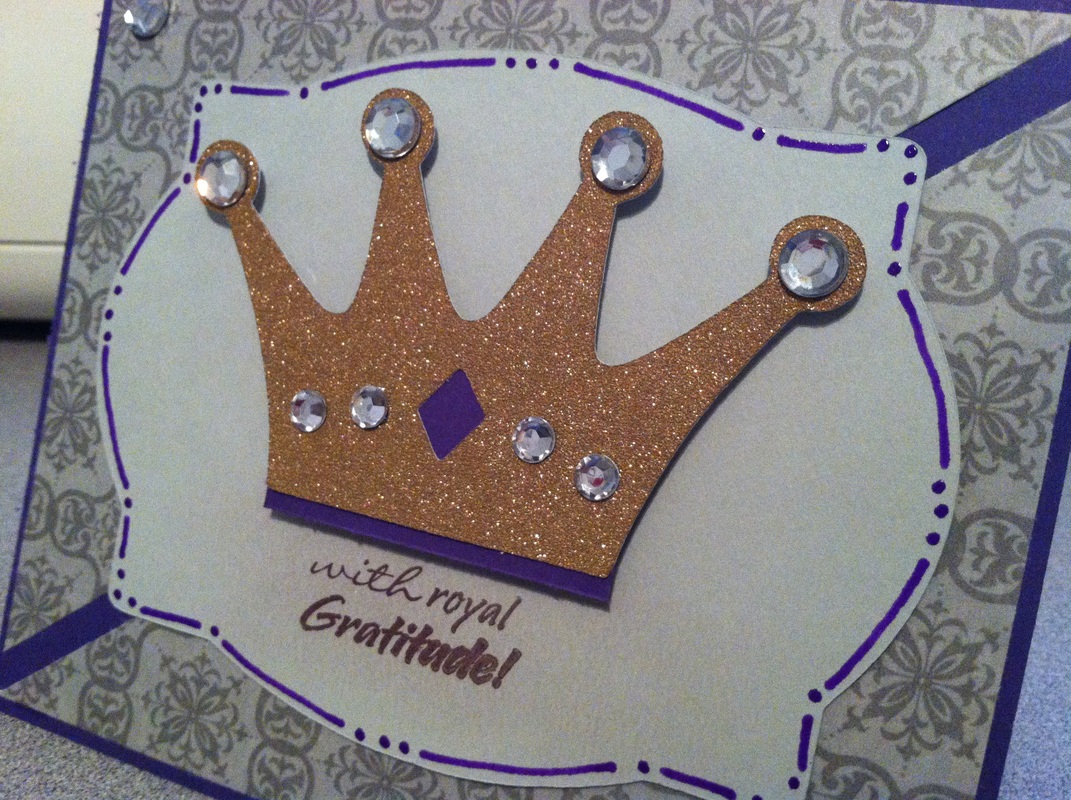
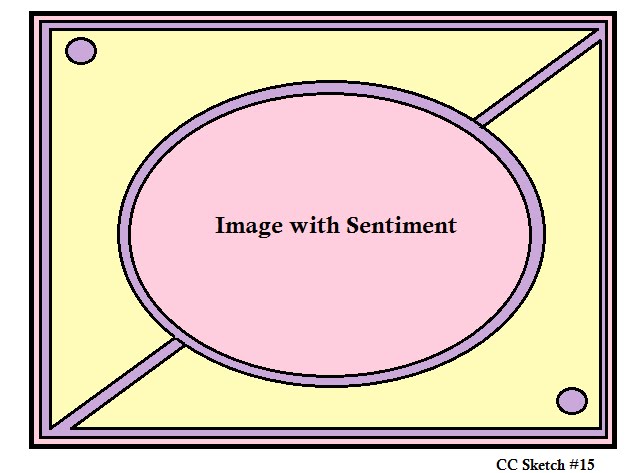
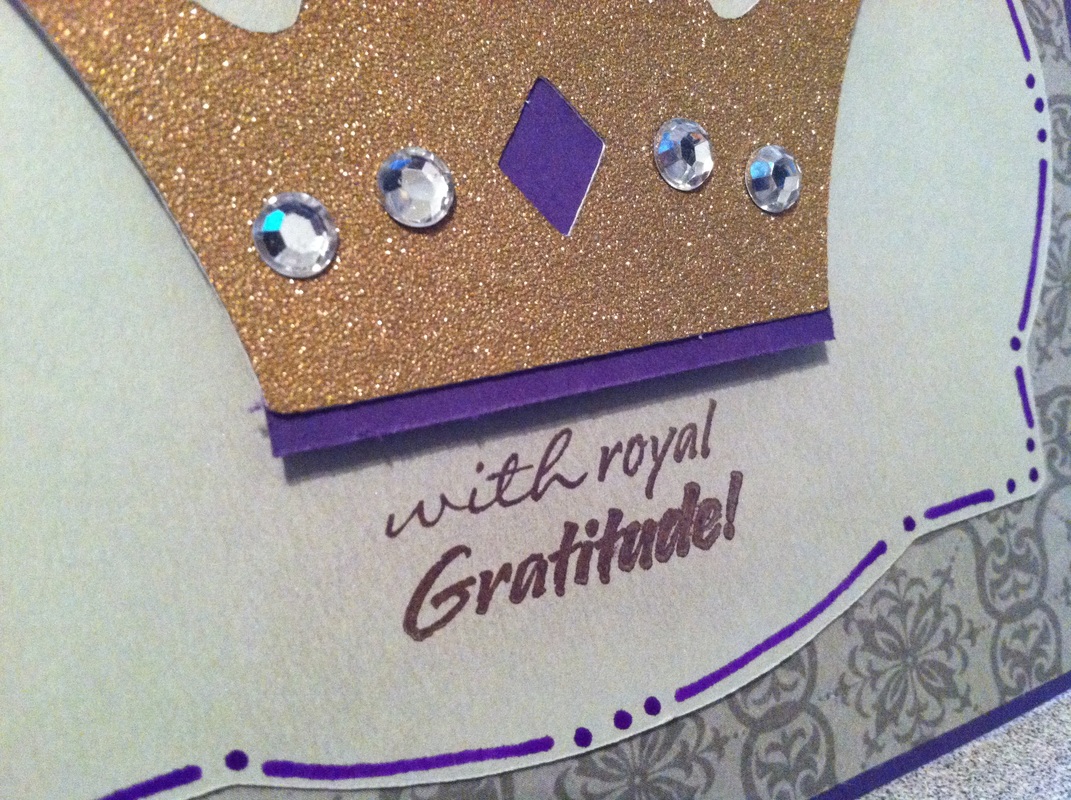
I wanted to make a card for Mother's Day that was a bit untraditional, and as I was digging through my stamp collection, I found this cute saying and thought it would be a perfect sentiment for the card. I also found a sketch (see image below) on the Die Cuttin Divas challenge blog and thought it would make an excellent layout. I started by cutting the crown using my Cricut and the Create A Critter cartridge. Next I cut out the modified scallop edge using the Elegant Edges cartridge. Then I added some bling to the crown, because no crown is complete with out some rhinestones. I stamped the sentiment using Versa Mark ink and my purple Perfect Pearls powder. I used to use Perfect Pearls all the time and found this buried in my scrap room drawer. Next I outlined the scallop using a purple glaze pen, which I think added something to the card. All that was left to do was put it all together. I put attached the crown using foam tape. I think the card is really cute and will be perfect for Mother's Day or as a thank you card. Materials Used: Cricut: Create A Critter & Elegant Edges Paper: Scraps, Recollections, & DCWV Glitzy Glitter Neutrals Stack Stamp: The Scrapbook Queen - Royal Sayings Too Ink: Versa Mark and Perfect Pearls Powder Pen: Purple Glaze Pen Sketch: Die Cuttin Divas (see sketch below)
Challenges Entered:
Die Cuttin Divas: Sketch Challenge Cricut FANatics: Someone who inspires you Speedy TV/Marks Finest Paper: Simple Salutations Challenge - Anything goes Paper Playtime: Use a pun Pause Dream Enjoy: Dew Drops Frosted Designs: Scallops 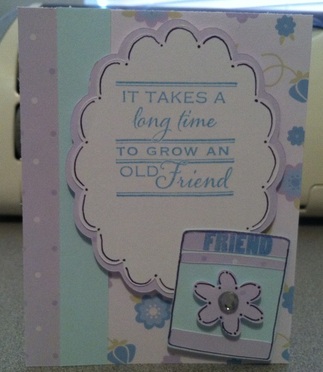 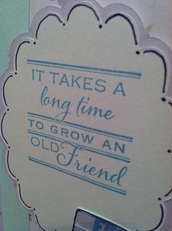 Wow, the last 6 weeks have been a crazy time. I have been working a lot, and as a result, just did not have time to do any crafting. I feel so behind and sad that I haven't had any time to create anything. I really do feel relaxed and ready to work when I have time to spend in my craftroom. Well I took today and tomorrow off from work to relax, and spend some much needed time hidden away from the world and crafting. It's funny, after so long away, I had a hard time deciding what to do first. I decided to make a card wth this super cute stamp set that I bought at the CK Scrapbook Convention back in Feb. I started by cutting out all the peices using my cricut. I actually used three different cartridges, Doodlecharms, Freshly Picked, and my new one, Elegant Edges. Why oh why did I wait so long to buy Elegant Edges, I love this cartridge and all the different things that you can do with it. I'm sure it will become a staple in my collection. Next, I cut the mat and the strips of pattern paper accents for the edge of the card. Then I attached the pattern paper and accent peices to the cards. I then stamped the image, "It takes a long time to grown an old friend" to the front. I love this saying, and think that I will be able to use the card in a lot of different ways. I felt that it needed something else, so I did a little pen work to frame the sentiment. Next, I turned my attention to the packet of "friend" seeds. I outlined the packet and flower using my purple gelly roll pen, added a rhinestone center to the flower, and stamped "Friend" to the top of the packet. Now all that is left to attach all the peices. I used a pop dot to lift the flower off the packet, and use one layer of foam tape to lift the sentiment and "Friend" packet, to give some depth. I really love how the card turned out and am looking forward to giving it away to someone. 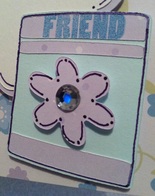 Materials Used:
Cricut: Elegant Edges, Doodlecharms, and Freshly Picket Paper: Colorbock - Pastels Pattern Paper Pack, and Recollections cardstock Stamps: Heart to Heart by Hot Off The PRess Ink: Stampin Up - Taken with Teal Challenges Entered: Pause Dream Enjoy - Anything Goes Speedy TV - Simple Salutations - Spring Bitten By The Bug 2 - Card Feature |
 
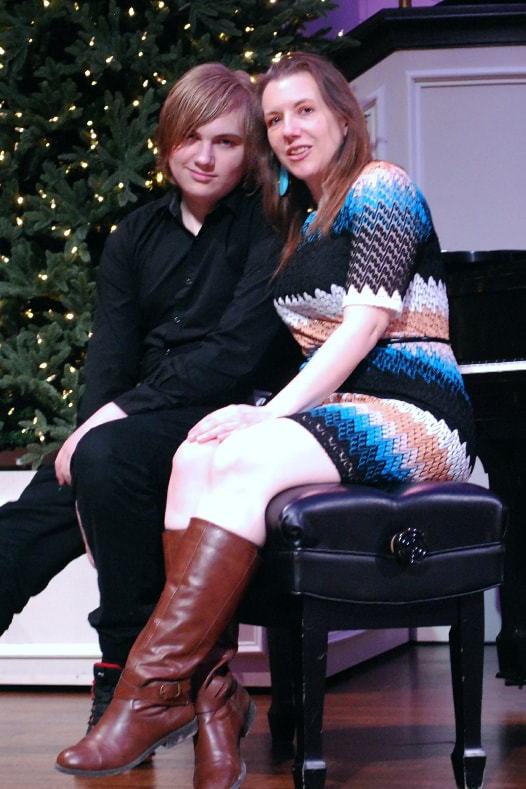
JoNeita & Dallas - Dec. 2021
About MeMy name is JoNeita Kelly and I have been crafting for at least the last 20 years. I live in Forney, Texas with my son, Dallas. I am a High School teacher and Cheerleading Coach. I love to craft and to continue to improve my photography and editing skills whenever I have free time. What I love most is telling our story using pictures, it is the most important gift I can leave my family. 
Photo by Steven Mackie Photography.
Categories
All
Archives
December 2021


Former Design Team Member for Fantabulous Cricut Challenge Blog
 |


 RSS Feed
